Initial Setup
After installing Blazam, open a browser to your published website.
Upon first launch, the application will enter an installation wizard to guide you in completing the initial configuration.
Setup Wizard
Database
Prerequisites (Excluding SQLite)
- A database must be created prior to first launch.
- A user account with permission to write to the database and create and delete tables must also be provided.
Tip
The web installer ensures the prerequisites are fulfilled before allowing installation.
The database page confirms that the settings you configured in appSettings.json (or as performed by the web installer) are correct and a connection to the database is successful.
You can then "install" the database, which will set up all the necessary tables and seed data.
Authentication
The authentication install page allows you to set up your built-in admin password.
This account is provided to allow login even when no connection to Active Directory can be made.
Active Directory
This is the most important of the first launch steps.
Server - This can be your domain name, but if that doesn't work, pick a domain controller to connect to and use its DNS name.
Port - The port to connect to.
Username - The account name excluding the domain. (e.g., blazam) This account should have administrative permissions for whatever scope you intend to use the application for.
Password - The password for the domain account.
Use TLS - Whether to use TLS when connecting. For internal networks, this is optional. It is highly recommended if you are communicating to your domain over the internet.
FQDN - The fully qualified domain name of your Active Directory domain.
Base DN - The base organizational unit distinguished name from where to begin scoping the application. Any OUs above this DN are not available to Blazam.
Info
At the bottom of the page is a connection status panel that will show you the state of the connection as you make changes.
Finalize Install
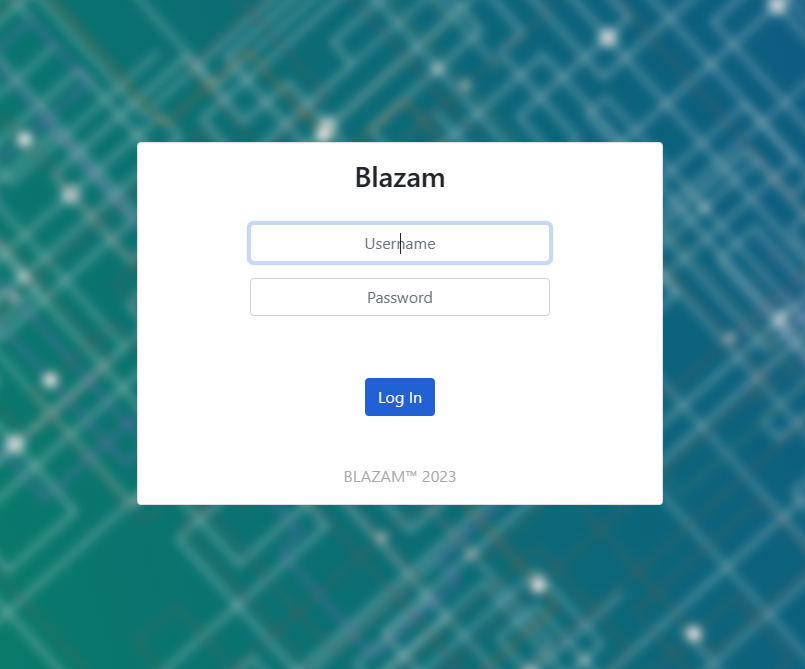
After finalizing the install, you will be brought to the login page.
Enter the admin username and the password you set during the initial setup.